
Go to "Time Machine" in "System Preferences". Activate Time Machine with the "Back Up Automatically" check box or the "Select Backup Disk ..." button.
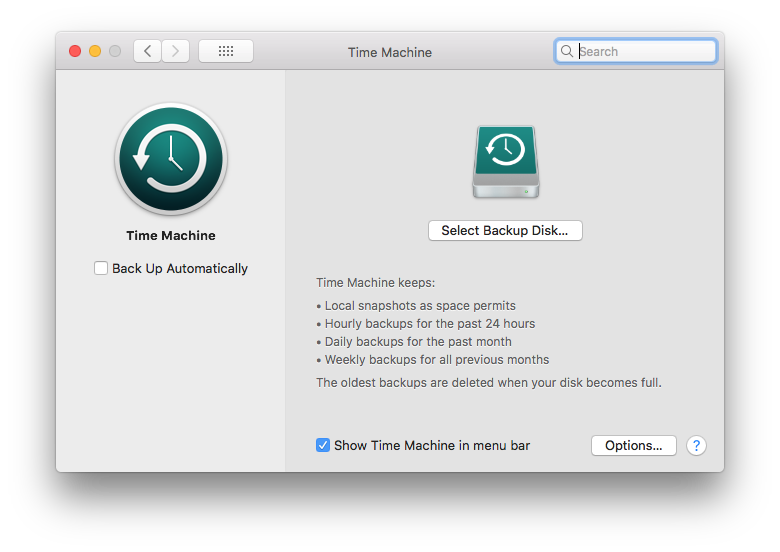
current macOS Time Machine Preferences
Either action leads to the list of backup destinations, as shown below:
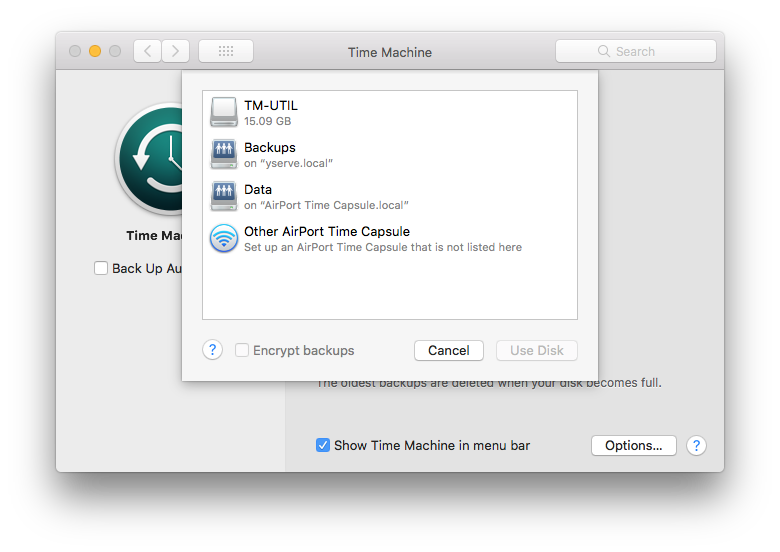
current macOS list of backup destinations
On older versions of macOS, click the "OFF/ON" switch to ON or the "Select Backup Disk ..." button to activate Time Machine.
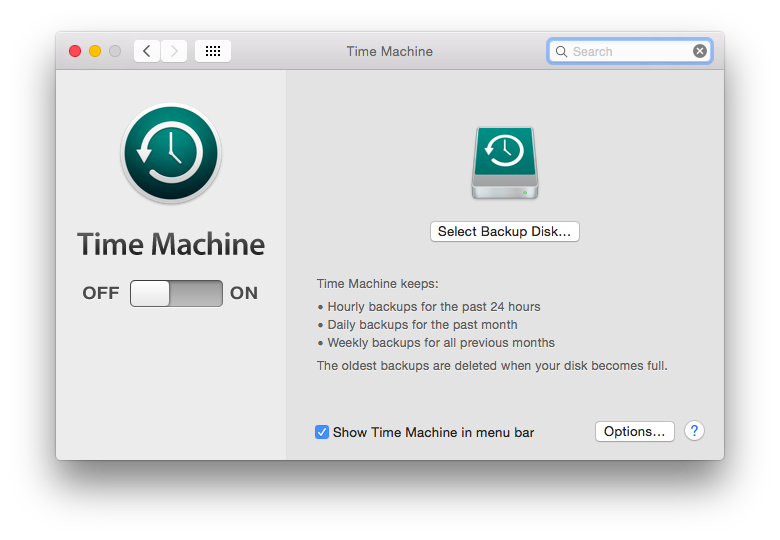
older macOS Time Machine Preferences
Either action leads to the list of backup destinations, as shown below:

older macOS list of backup destinations
Time Machine will automatically recognize all local internal disks, locally connected external disks, and mounted network shares as destination options. Network shares must be mounted to be recognized. After Time Machine is completely set up, network shares are automatically mounted as needed.
macOS versions since Sierra (v10.12) allow the use of Apple Filing Protocol (afp://) or Simple Message Block (smb://) network shares. Older versions will only work with the afp:// scheme.
If you have patience, the important next step is easy. If you don't, the next step will frustrate you.
Time Machine WILL NOT function properly UNLESS the first backup is allowed to complete without error or interruption. Depending on the size of apps and data on the machine, an initial network backup may take an extended period of time, especially with a wireless network connection or virtual private network (VPN).
Though much faster, local backups may also take time. Wired network backups are much faster than wireless or VPN.
After the initial backup starts, walk away, take a break, eat or drink something, use the bathroom, call a friend or relative, run an errand, take a nap, ...
Once the initial backup completes successfully, Time Machine functions unattended and maintains the integrity of the backup files.
©2019 Arthur Rosel, Ltd. All rights reserved.