Versions of macOS since Sierra (v10.12) allow the use of Apple Filing Protocol (afp://) or Simple Message Block (smb://) network shares. Versions prior to macOS Sierra require the afp:// scheme. Prior to macOS Mojave v10.14, network shares were named "Backups" and mounted in the "/Volumes" folder.
As of macOS Sierra (v10.12), writing to the "/Volumes" folder requires root user privilege. TM-Utilities no longer uses the /Volumes folder for mount points. "Reset Network" in the Application Menu will attempt to remove Time Machine mount points in the /Volumes folder if the user is root.
As of macOS Mojave (v10.14), network backup shares are mounted at "/Volumes/com.apple.TimeMachine.Backups-HHHHHHHH-HHHH-HHHH-HHHHHHHHHHHH", where H is a hexadecimal digit. Unlike previous macOS versions, this mount point persists. However, persistence of this mount point will not prevent TM-Utilities from running. TM-Utilities always uses its own mount point.
Time Machine creates a sparse bundle disk image on the network share. Once the network share is mounted, the sparse bundle disk image is attached as "/Volumes/Time Machine Backups". The backup store, "Backups.backupdb", is located in this disk image. See Time Machine Structure.
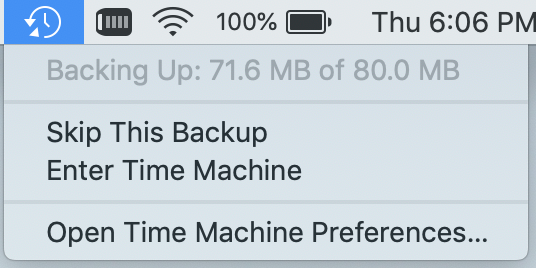
When TM-Utilities attaches a sparse bundle disk image, it appears as "/Volumes/Time Machine Backups". If "/Volumes/Time Machine Backups" is attached by Time Machine, TM-Utilities will report a "Time Machine backup in progress" error message and not load the network destination. See Reset Network and Reset Time Machine below.
Time Machine should automatically recognize Apple Time Capsule as a backup destination, unless Time Capsule is not properly configured or its hard disk is not functioning. TM-Utilities requires manual entry of Time Capsule's password.
Use "Write plist file" in the File Menu to allow other computers running TM-Utilities access (with proper credentials) to Time Capsule backup files.
Time Machine backup files may become corrupted if an incremental backup is interrupted. However, the backup files will be repaired (or cleaned up) when a subsequent incremental backup completes without error.
Backups to a network destination are more likely to be interrupted than backups to a local destination. Most users know that an external disk should be ejected before disconnecting the cable. On the other hand, portable devices on wireless networks may go out of range and VPNs may disconnect during an incremental backup.
The sparse bundle on the network share will be corrupted if an incremental backup is interrupted, and TM-Utilities will be unable to attach the disk image until it is repaired by the next successful incremental backup.
If an incremental backup is not possible, the sparse bundle may be repaired with the "hdiutil" and "fsck" Terminal commands. This solution is currently beyond the scope of TM-Utilities, but attempts of this nature should only be performed on a copy of the sparse bundle.
"Reset Network" in the Application Menu will stop Time Machine backups in progress, and attempt to forcibly detach, unmount, and remove Time Machine and TM-Utilities network shares. It runs asynchronously in the background as a launch agent. Since macOS Mojave, the launch agent is unable to detach the "Time Machine Backups" disk image that was attached by Time Machine, unless the user is root. TM-Utilities now requires the root user to execute this feature.
"Reset Time Machine" in the Application Menu will stop Time Machine backups in progress and attempt to forcibly detach the "Time Machine Backups" disk image. It runs synchronously in the foreground, allowing any user with administrator privileges to stop Time Machine backups in progress and forcibly detach the disk image. Using this feature to detach the disk image allows TM-Utilities to run after encountering a Time Machine backup in progress error.
The network may also be reset by manually stopping Time Machine and rebooting the computer, as detailed below:

©2019 Arthur Rosel, Ltd. All rights reserved.